Ok, so it has been awhile since I have posted to my blog. But I have an excuse. While I was on furlough from the Magnolia Market, a little over three weeks ago, they called me back to work at their warehouse. Since the Market was not open (and still is not), I decided to go work there. The work is a lot more physical but I am only working from 8am til noon Monday through Thursday. So all in all, it’s not that bad for the short term. The Market is due to open back up on June 1st, but I may not be in the first wave to go back to work there. Since about 99% of their business comes from out of town visitors and folks just aren’t traveling as much now due to the COVID-19 pandemic, they probably won’t need the full complement of employees there for awhile. A few of my friends that started working there after me have already been told that they are no longer furloughed, but officially “laid off”. So far I have escaped that fate, but who knows.
Anyway, work on our house has been progressing along. As of my last post, they had broken ground and flattened out the lot a bit in preparation to begin the work on our concrete foundation (also known as the concrete slab). You cannot believe what a complicated process it is to engineer and construct a concrete slab for a house out here. This is our first house that does NOT have a basement (they just don’t do those here in Texas), and thus our first experience with slab construction. The engineers took multiple soil samples from our lot and specifically designed the concrete slab to our lot. The engineered slab is for everything “under the roof” which in our case includes the front porch and the back screened-in porch. The driveway, front walkway, and patio slab (just outside the screened in porch) will be poured later on. Our engineered slab will be a post-tension slab.
Below are some pics that kinda give you some insight into the entire process involved with building this slab:
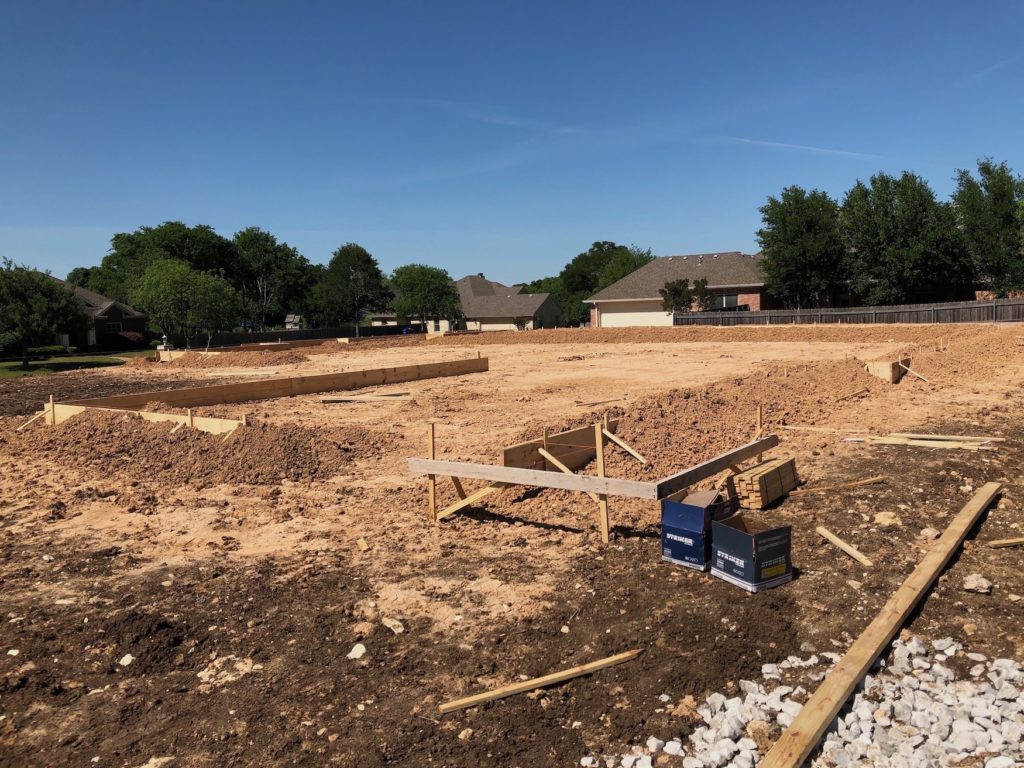
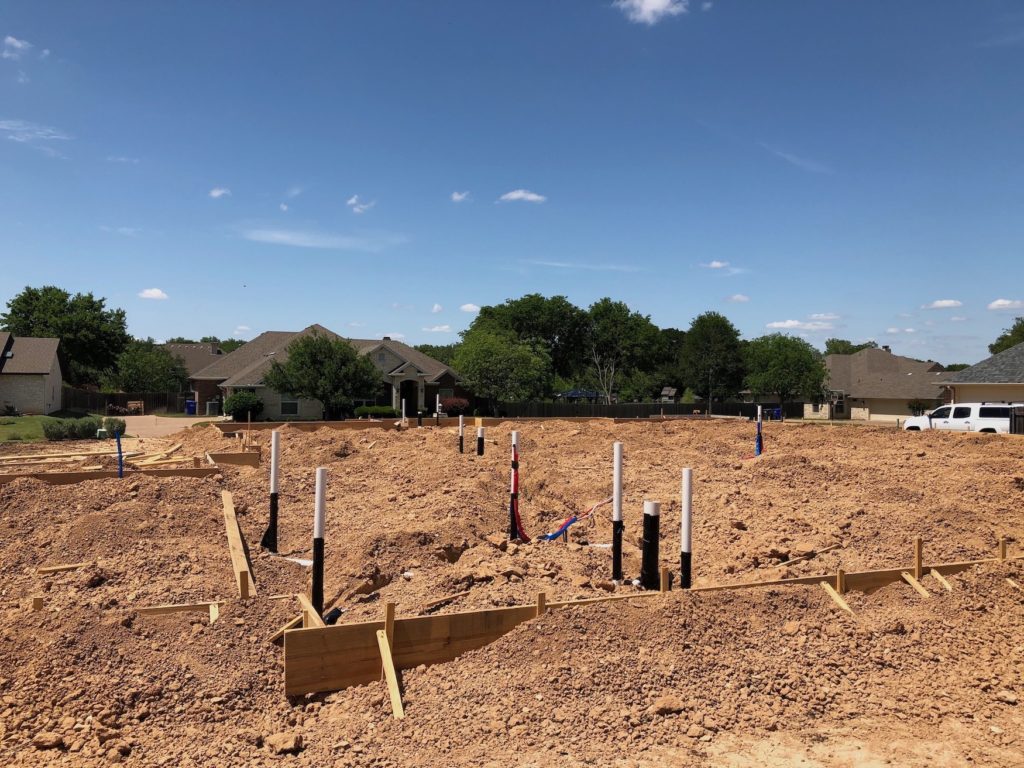
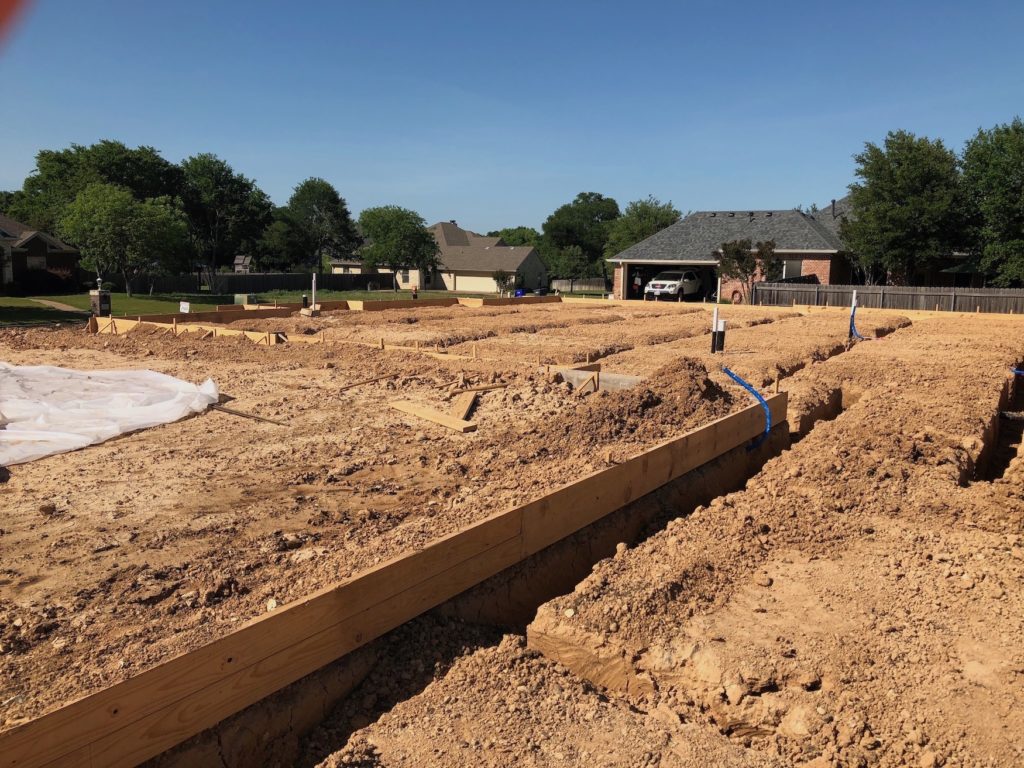
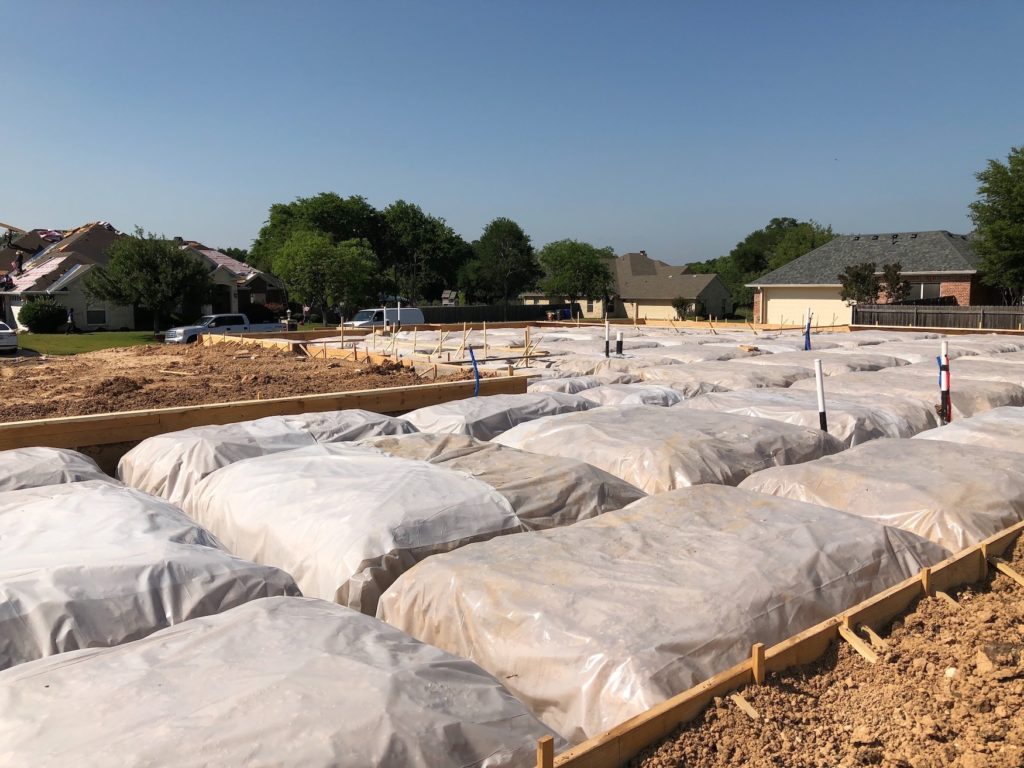
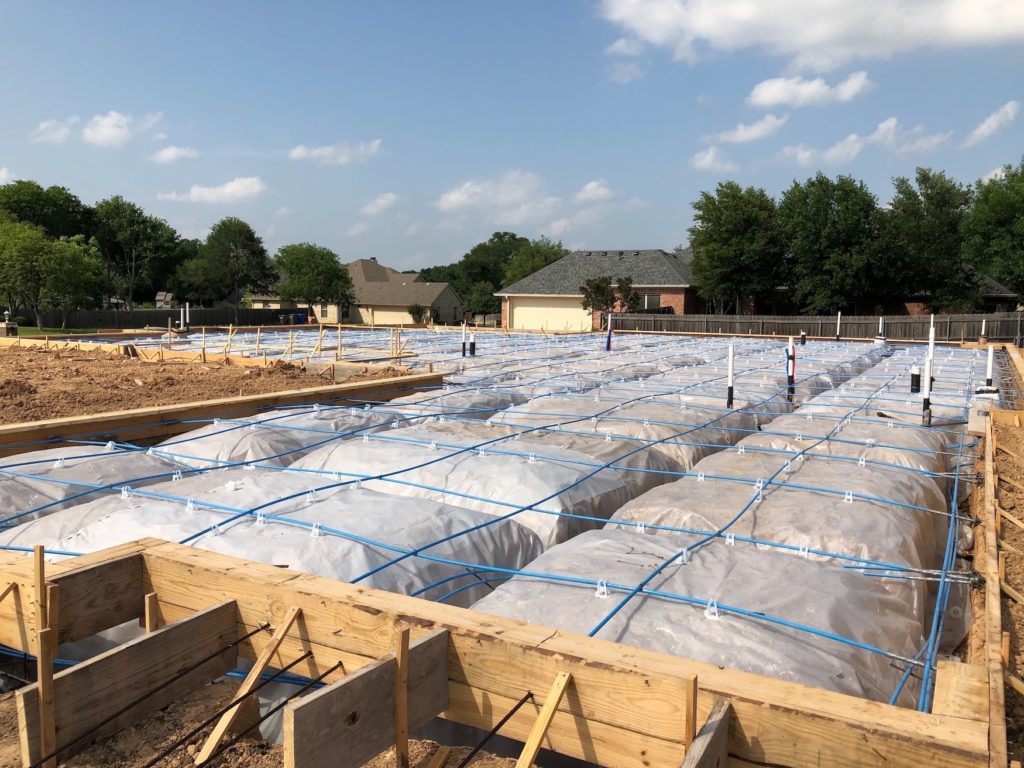
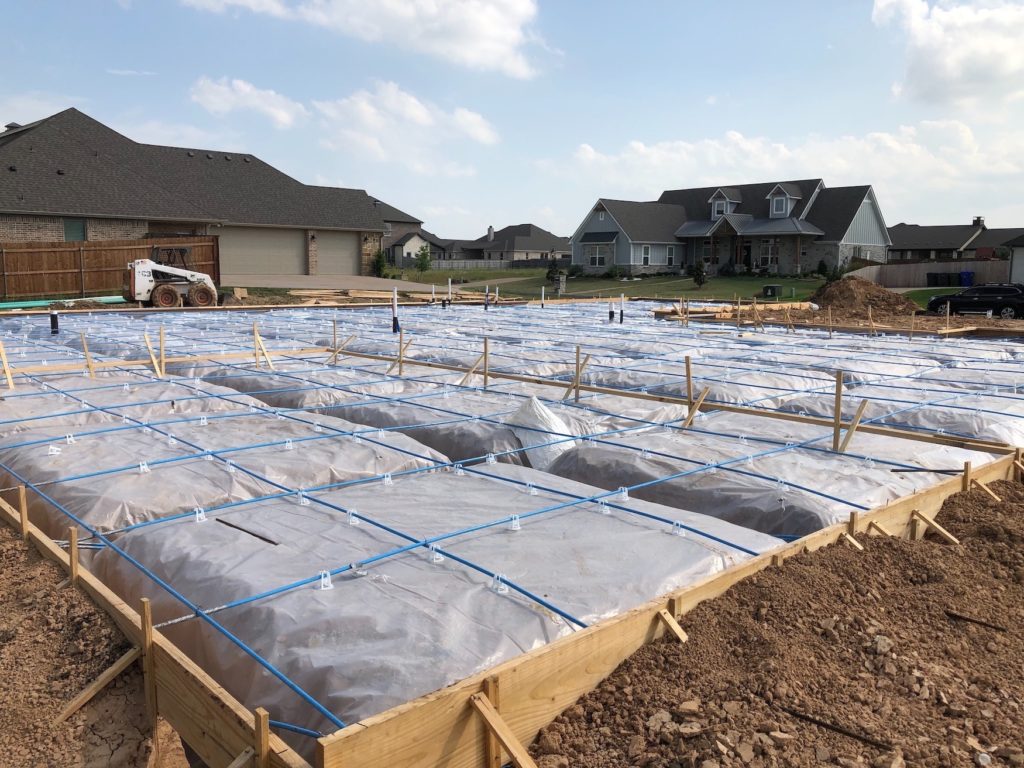
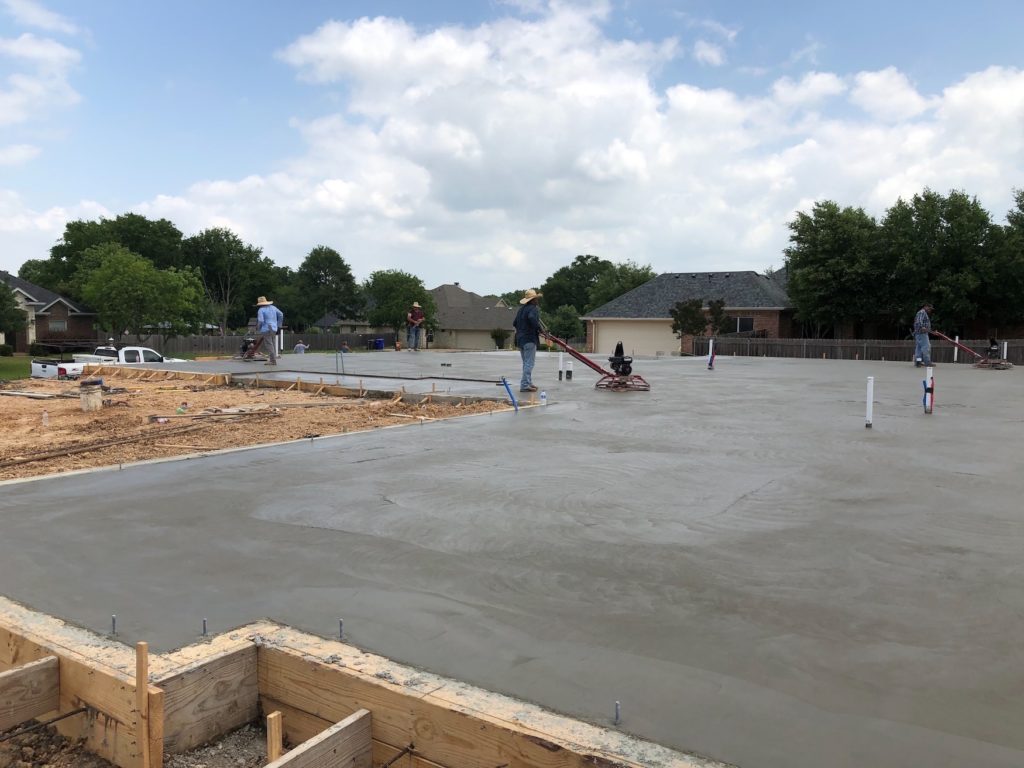
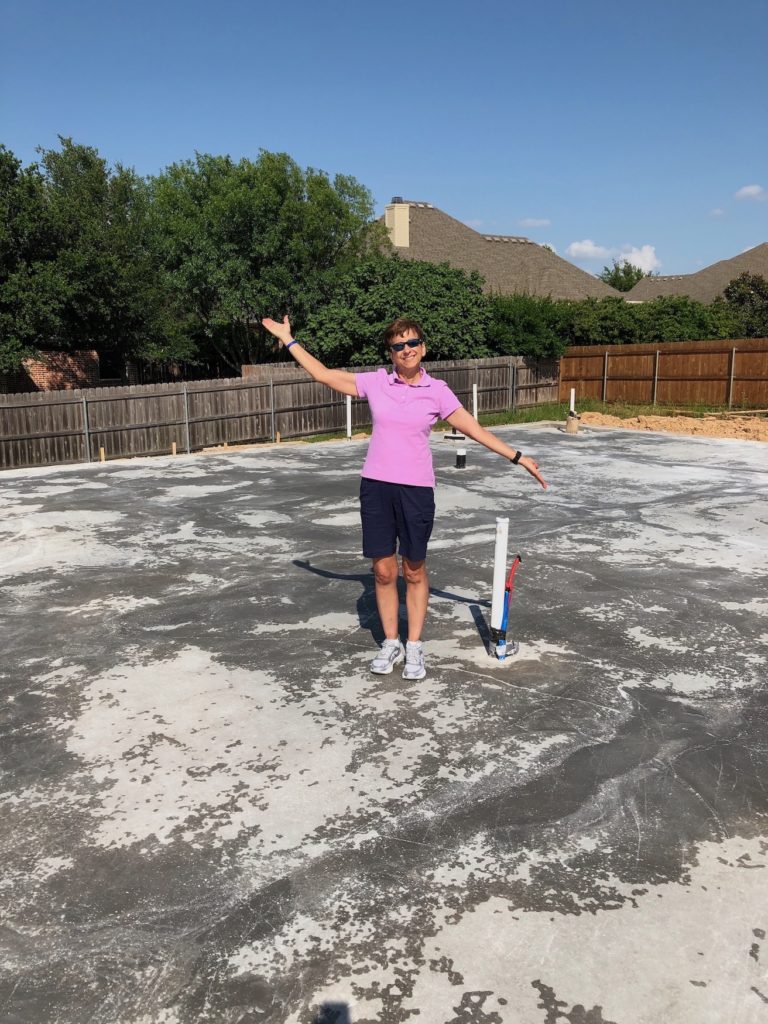
That last photo was taken today. This whole process took 2-3 weeks to complete. It gets slowed down as they have to pass inspections at each of the milestones in the process.
The beauty in all of this is that they can technically start framing as early as next Tuesday after they remove the wooden framework around the slab. Whether they will or not remains to be seen!
Ciao for now!!